Friday, November 8, 2013

My First Book!


Just about a year and a half ago I attended my
first International Quilt Market as a vendor.  I
had just started a quilt pattern design business
and this was my first big time exposure in the
quilt world.


I was in my booth at Market one day and I was busy
with customers.  My fabulous Mr. Wonderful was there
to lend a helping hand, he's great with a hammer and nails
but a needle and thread ~ hmmmm, not so much...
So a woman came into the booth and started asking Rob
some questions which he tried to answer, finally he
confessed,  "I'm just the driver."  To which the woman
replied, "Oh, you're adorable", she then gave him a card
and said she was the Publisher at C&T Publishers.  When
 I finished up with my customers Rob gave me the card
and told the story.  It was a cute story but I was so sad
because I would have LOVED to have had a chance to
speak with a big time publisher.  A short while later
another woman came into the booth and said she was
the Creative Director or C&T Publishing.  She said her
publisher made her come visit this time since she had
been to my booth 3 times already and didn't want to
look like a stalker ~ ha ha!  So we gabbed about quilting
and publishing and old time paste-up methods and when
I returned home the conversations continued and soon
 enough I had a book contract!


And here we are a year and a half later, all the edits
are in and the book is heading to the printer.  I have
learned so much in the past 18 months and it has been
 a fascinating education.  So much energy goes into
making a book and so many people are involved.  It has
 been a wonderful experience.  I can't wait until I actually
 get to hold the book and flip through the pages, that is
still a few months away but the book is available for
 pre-order right now at the following sites:

 
From C&T:

 
From Amazon:

I hope everyone enjoys the book!
From my American Homestead,
I wish you All the Best,

~ Ellen
 
Ps. Please share this post with your friends!

Wednesday, November 6, 2013

Birds in the Air


Hi!  If you enjoy this blog, please become
a follower, I need to know if anyone is out
there using these tutorials!  And pop on over
to the American Homestead blog and see what
is going on in my life.  All the best!  ~ Ellen


 Cut 2 dark & 3 light 3 1/2"
squares, then cut on the diagonal.
Then cut 1 - 8 7/8" square &
cut on the diagonal.


Sew 3 light and dark squares as
shown, mine squared up to 3 1/8".


Sew units together as shown.


I found that pressing seams
as shown above is the best
option to achieve precise points.
Especially that center seam, notice
those seams are pressed in opposite
directions, they will lock together
when you pin the seam.  After
sewing this seam, I pressed the
seam open to reduce bulk.


Sew the final light triangle to
the light & dark unit.  Next you
have to trim the long edge of this
triangle, take care to leave 1/4"
from the points of the dark triangles.

 
Then sew the above units together
along the long edge of the triangles.


Press seam to the solid triangle
and square to 8 1/2".


Here is another one I made
using different fabrics for the
dark triangles.


This is another with
different fabrics.

Wednesday, October 23, 2013

New Pattern Collection

 
Tomorrow I leave for the Fall '13
International Quilt Market in Houston.
I'm flying and have LOTS of stuff to take for
my booth so the laptop is staying home.
That means my blog readers will have the
first peek at the new designs.
 
This is Stars Hollow.
 
 
Floral Park

 
Summerside

 
I have been back at work with wool felt.
 
Grand Isle

 
Avalon

 
Petaluma
 
The patterns are up on the website and you
can order by just emailing me:


Wholesale orders are available through me
or from Checker Distributors.

Wednesday, October 16, 2013

Cotton Boll

Cotton Boll

 
Hi!  If you enjoy this blog, please become
a follower, I need to know if anyone is out
there using these tutorials!  And pop on over
to the American Homestead blog and see what
is going on in my life.  All the best!  ~ Ellen


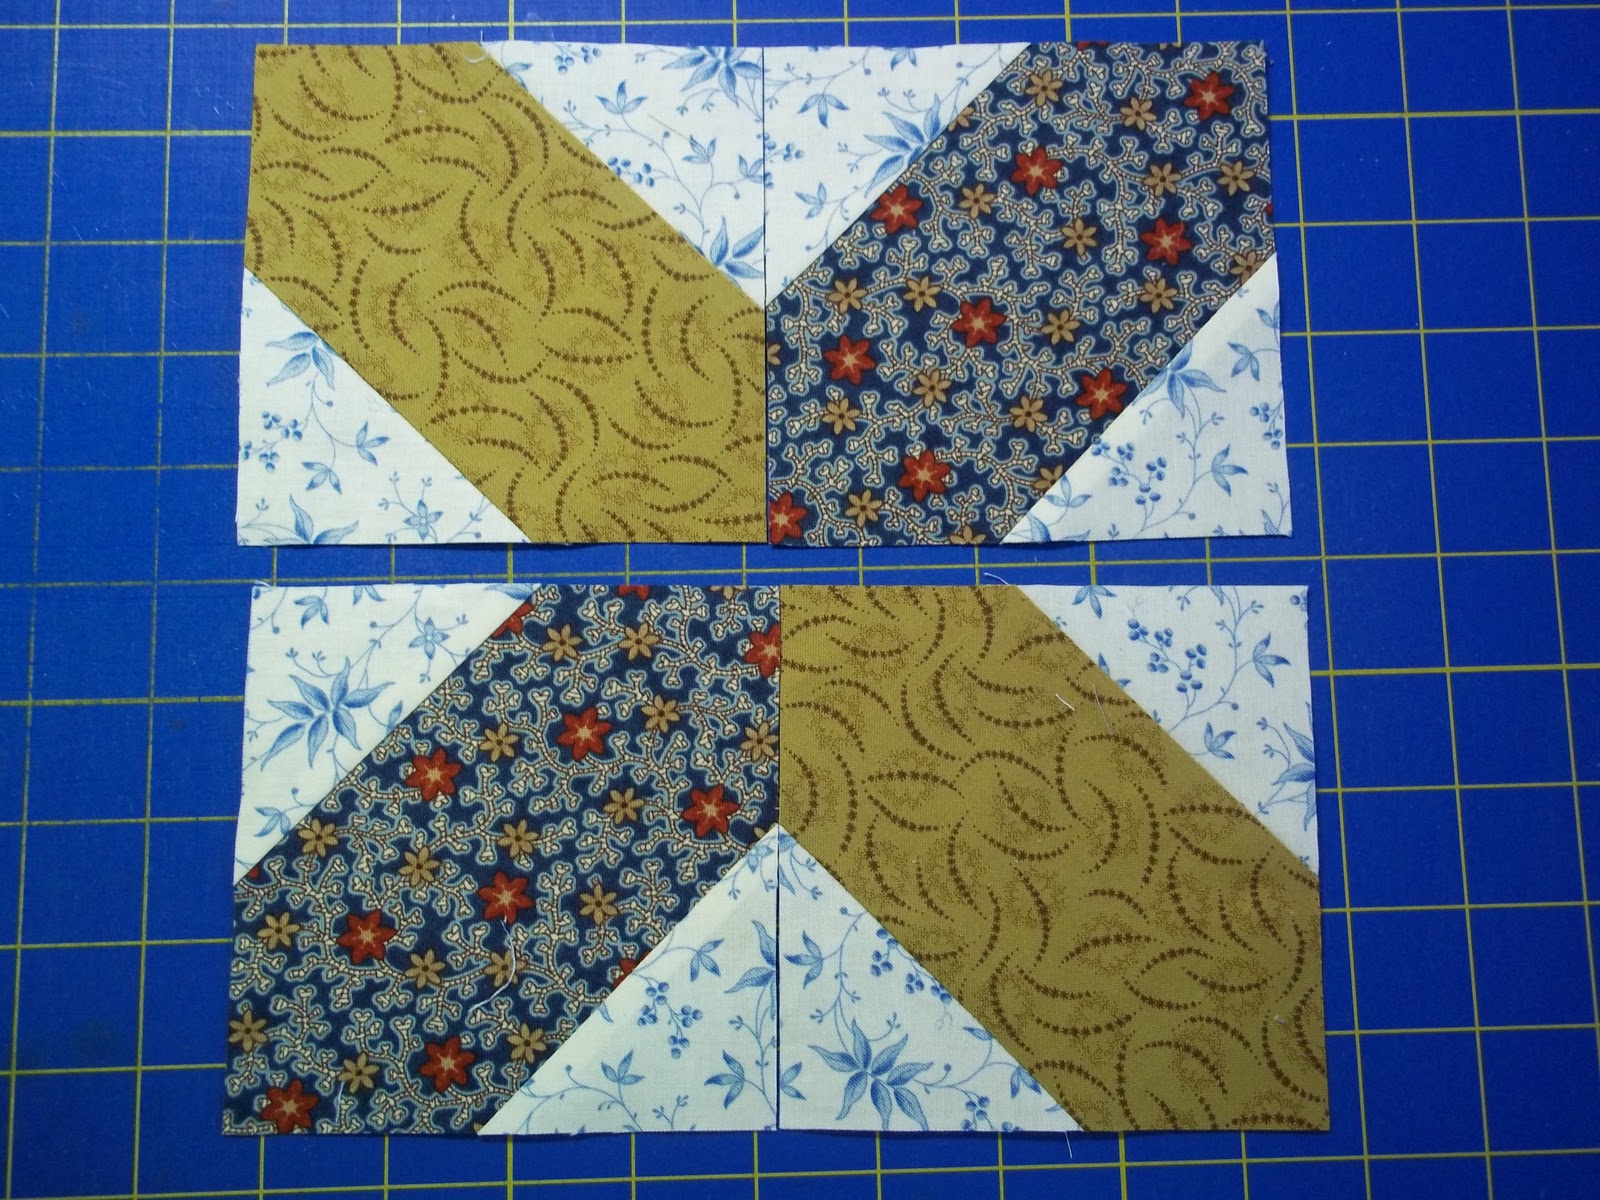
This is a block that you have to think of
as a 4-patch, then it is easy.


Cut 4 - 2 7/8" squares and cut on diagonal.


Cut 4 rectangles 3 3/8" x 7".
Use the same fabric for all 4 or
2 of one and 2 of another, the
choice is yours.
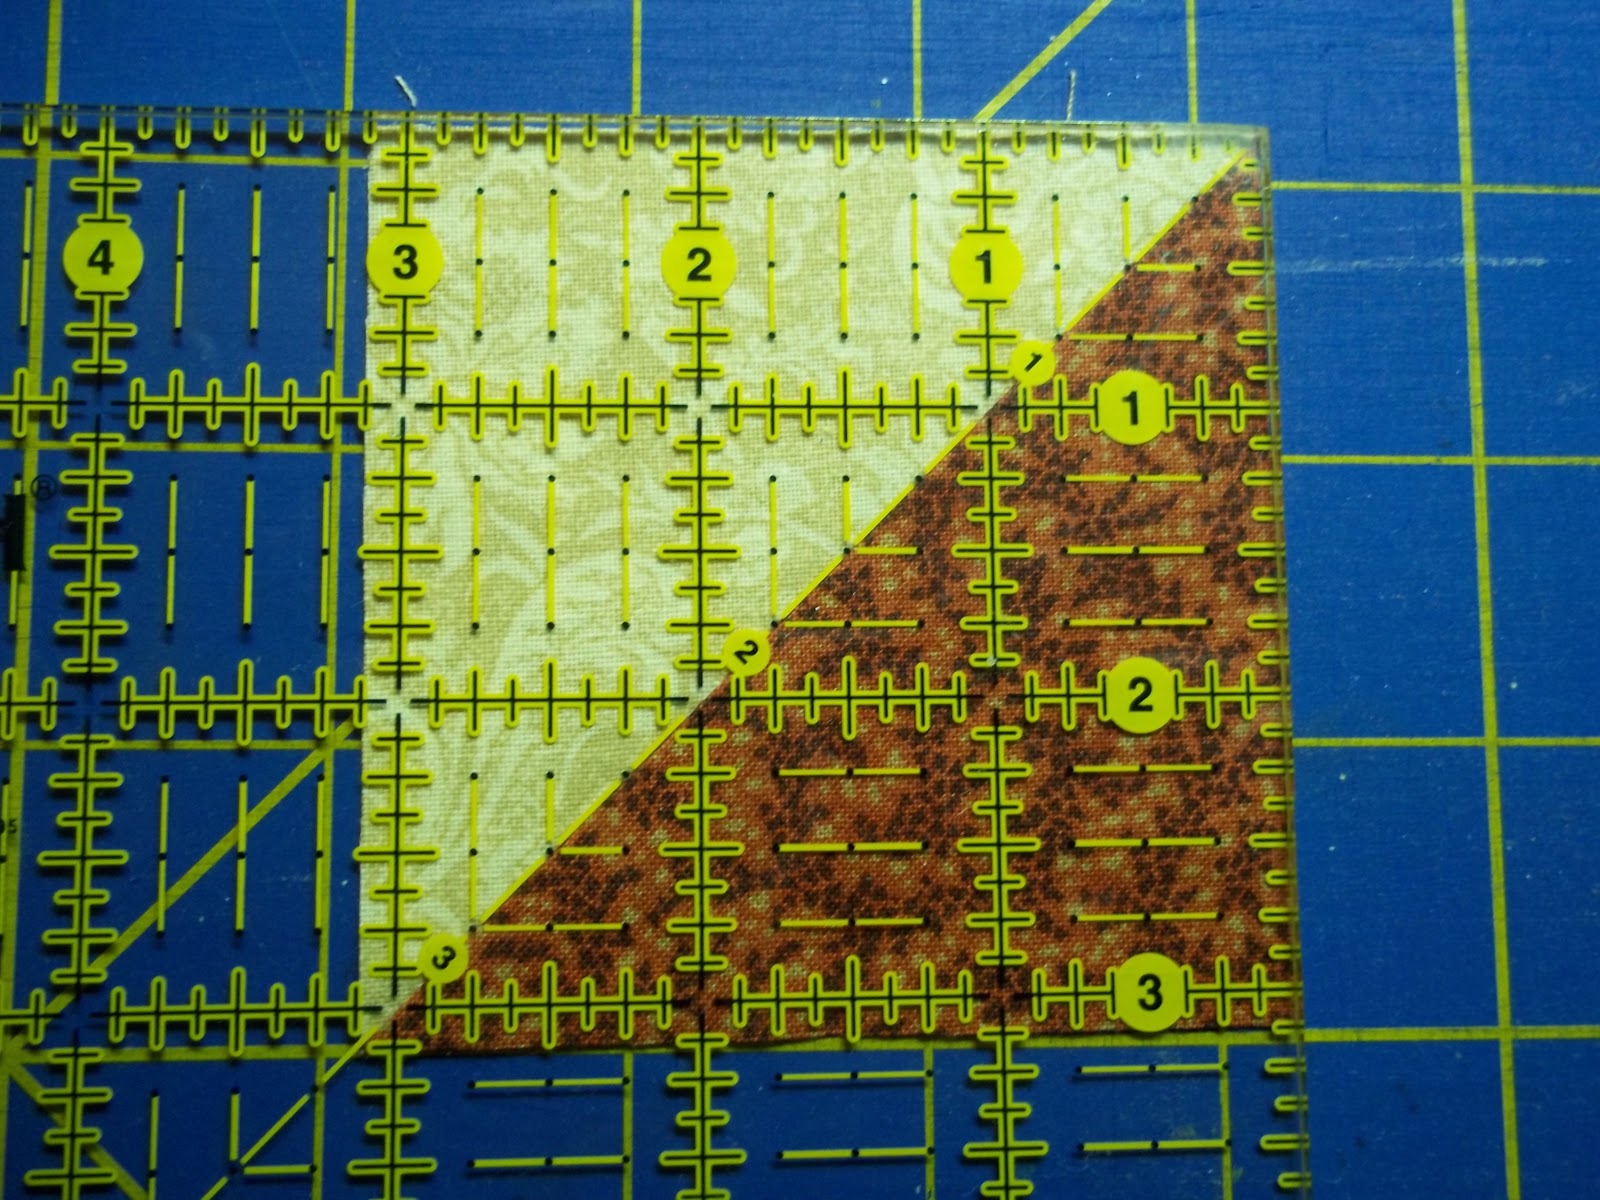
On the back, draw a line in the center.


Place the diagonal line on a square
ruler on top of the drawn line and
the point of the angle on the edge
of the fabric.  Cut excess triangles off.


Place long edge of small triangles
right sides together on long edge of
rectangles.  Overlap the point of the
triangle by 1/4" and sew.  Repeat to
the other side.


This is an important step for
precise points.  Press the triangle
seams of 2 rectangles to the inside
and the seams of the other 2 rectangles
to the outside.  If using rectangles of
the same color, just do 2 and 2.  If  using
2 different fabrics, press Fabric A
seams to the inside and Fabric B
 seams to the outside.


Square up the pointed edge
of rectangle as shown.


Now square up opposite side
of rectangle, unit should measure
to a 4 1/2" square.


Layout units as shown and sew
together in 2 rows.  Now this is
where the pressing of the seams
comes into play.  As you pin the seam
before sewing, take care to "lock" the
seams together at the mid section
of the seam.


By pressing and taking care you
will get very precise points.


On the two units press the
seams in opposite directions.


Sew final seam of block and
press seam open to reduce bulk.


Square block to 8 1/2".


Here is one I did using the
same fabric for the rectangles.

The Hands of Strangers


Hi!  If you enjoy this blog, please become
a follower, I need to know if anyone is out
there using these tutorials!  And pop on over
to the American Homestead blog and see what
is going on in my life.  All the best!  ~ Ellen


We are quilting along with Barbara Brackman's
Block of the Month, Dixie Diary.

Today I realized I somehow missed September,
I chalk that up to too much work and some
travel fun thrown in.  I'll post October's
sometime later in the month.


Fabric Requirements:

Fabric A: Red
1 - 7 1/4'' square

Fabric B: White, Red & Green Print
1 - 7 1/4'' square
 
Fabric C: Blue
4 - 3 1/2'' x 6 1/2'' rectangles

Fabric D: Green & White Print
4 - 3 1/2'' squares


Make Half Square Triangles:
Mark a diagonal line on the back of the
Fabric B 7 1/4'' square.
Pair the 7 1/4'' squares with right sides
together.  Sew 1/4'' away from each side of
the drawn line. 


Press seams to the dark fabric.  Square to 6 1/2''.

Note: you will need only 1 of the half square
triangles, save the other for another project.


Sew a Fabric C rectangle to each side
of the Half Square Triangle.
Press seams to the Fabric C.


Sew Fabric D squares to each side of
the remaining Fabric C rectangles.
Press seams to the Fabric C.


Layout units as shown and sew together.


Square to 12 1/2''.


I added the sashing and applique as
described in month 1.

Wednesday, October 2, 2013

Fort Sumter

 
Hi!  If you enjoy this blog, please become
a follower, I need to know if anyone is out
there using these tutorials!  And pop on over
to the American Homestead blog and see what
is going on in my life.  All the best!  ~ Ellen


Cutting Requirements:

Fabric A: Red
 4 - 3 1/2" x 2 1/2" rectangles

Fabric B: Blue
2 - 3 7/8" square - cut
on diagonal each way

Fabric C: Light
4 - 1 1/2" squares

Fabric D: Dark
4 - 1 1/2" x 4 1/4" rectangles

Fabric E: Medium
1 - 4 1/4" square


Sew Fabric B triangles
to each side of Fabric A
rectangles.  Press seams
to the outside.
Make 4.


Sew Fabric C squares to
each side of Fabric D
rectangles. Press seams
to the outside.
Make 2. 
Sew Fabric D rectangles
to each side of Fabric E
square.  Press seams to
the inside.


Sew above units together
taking care to "lock" seams
together and pin before
sewing.


Sew Fabric A/B units to
opposite sides of center
square.  Press seams out.
Sew other 2 Fabric A/B
units to remaining opposite
sides.  Square to 8 1/2".


Here is my first attempt.
I cut the red rectangles
too large, I shouldn't quilt
before fully awake.


Here is a quilt I made a
few years ago using the
Fort Sumter block.
I think I may have to
get this one quilted,
I quite like it.